Launching iOS apps in the Apple App Store: the step-by-step guide
Mobile apps have become a vital part of our daily lives. We use them to manage our finances, connect with friends, and make doctor appointments. An increasing number of individuals, organizations and companies are working on releasing their apps. One of the major platforms to publish mobile apps is, of course, Apple’s App Store for iOS devices. As a result, Apple upholds a strict review process. They only want the best apps to be available in their App Store. Are you planning to launch an iOS app? Then follow this step-by-step guide to publishing one in the Apple App Store.
Develop with Xcode and the Latest iOS SDK
The first step to launching an app is developing it. Apple will favor apps that have been developed with Apple products in mind. That means you should develop in Xcode with Swift and use the latest iOS SDK.
Xcode is free to download and use. It’s also packed with prefab iOS UX/UI elements such as the bottom navigation bar and Dark Mode. By using the tools that Apple puts out, you ensure that your app will move smoothly through the review process later on.
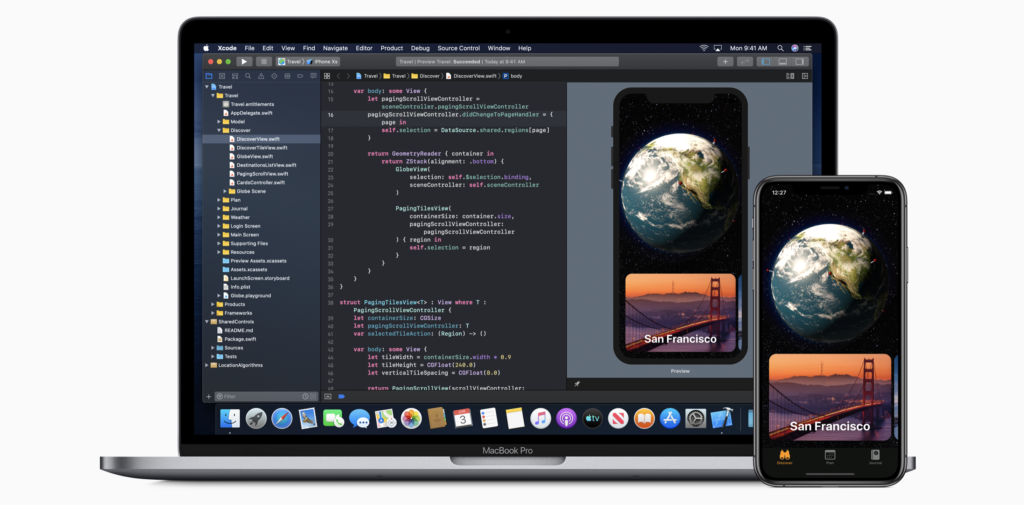
Source: Apple
You’ll be able to use Xcode without signing up for the Apple Developer Program. But, to test your app and publish it, you’ll need to do so. And that brings us to the next step.
Sign Up for the Apple Developer Programto Launch iOS Apps in the App Store
To use Apple’s entire range of developer products and publish your app to the App Store, you’ll need to register for their Developer Program.
With a membership, you’ll gain access to beta OS releases, tools like Xcode, services, and capabilities such as FaceID, the ability to distribute your app in the App Store, and access to support.
Source: Apple
The membership costs 99 USD per year. If you decide to start monetizing your app through in-app purchases and subscriptions, you’ll be able to keep 70%-85% of the earnings. Unfortunately, when you want to launch an iOS app, there’s no way around becoming a member of the Developer Program. But there’s good news. Research shows that iOS apps earn double the amount of money that Android apps do. So there’s a good chance you’ll be making that membership fee back in no time.
Test with Real Users Before You Launch iOS Apps in the App Store
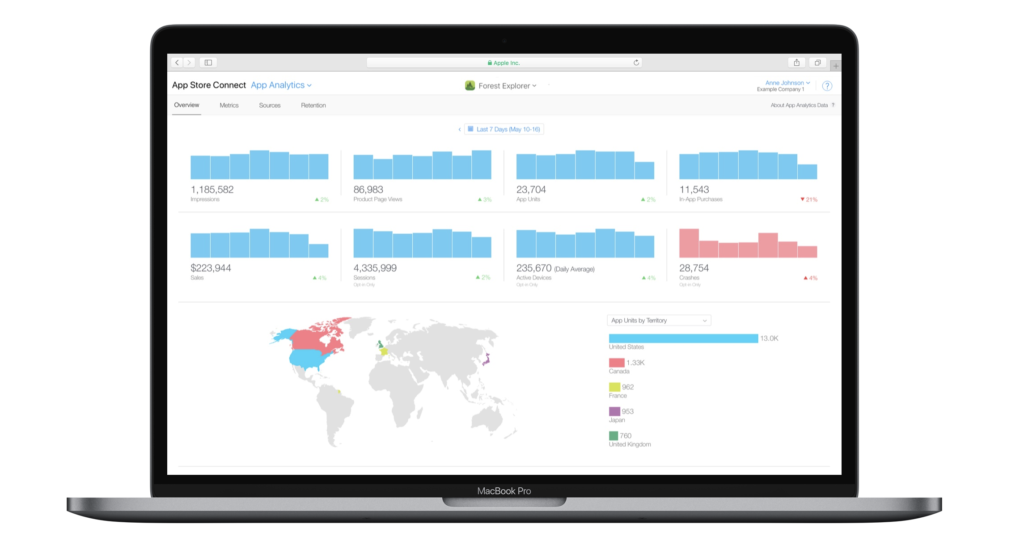
Once you’re finished with your initial development and design, it’s time to start testing your app. Apple encourages you to test using their program, TestFlight. It enables you to test your app before launching with up to 10,000 users. All you have to do is upload a beta version of your app to App Store Connect and send out the invites via share link or email.
You can review user feedback and crash reports on your app’s TestFlight page in App Store Connect. Since recent updates, users can give you direct feedback by simply taking a screenshot while using your app. Getting user feedback at this stage will help you make any last-minute improvements that are needed to achieve a successful app launch.
Ready to Launch Your iOS App?
Now you’ve developed, designed, and tested your app. You also have a membership for the Apple Developer Program. That means you’re all set up and ready to go for launch. Here’s what you need to publish your app in the App Store.
1. Select Your App Build Version
For every version of your app, you can upload multiple builds. However, you have to choose just one build to associate with the version you’ll be publishing to the app store. To do this, sign in to your App Store Connect account. Then head to My Apps, select an app, select an app version, and then scroll down to the build section.
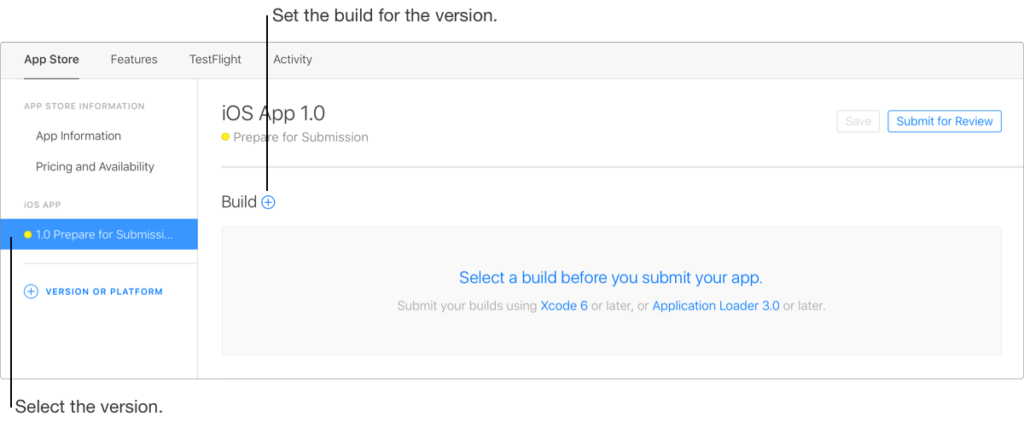
Source: App Store Connect
If there are no available builds, you’ll have to upload one through Xcode. You can change your build selection at any time before you submit the app version for review.
2. Determine App Pricing and Available Territories
In the Pricing and Availability section, you have to select your app pricing and the territories it will be available in.
For pricing, even if your app is free, you have to input a start and end date. If you don’t plan on changing the pricing anytime soon, then you can select no end date. You are also able to schedule a price change. This comes in handy for apps that would like to launch for free to gain traction but then switch over later to a paid app model.
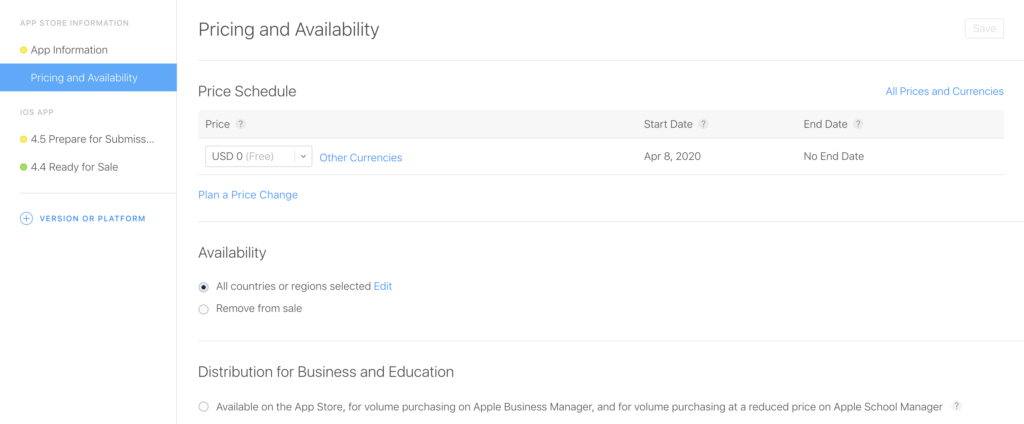
Source: App Store Connect
Let’s move on to territories. Territories are the areas where your app will be available to download once it’s published. When you select “All Territories”, your app will become available worldwide. However, it’s best practice for new apps to start with a few territories and then expand later. This way, you can test how your app does in a smaller market before rolling it out worldwide. You should always start in countries that speak your native language. For example, if your app is in German, you would first target the DACH region: Austria, Germany, and Switzerland.
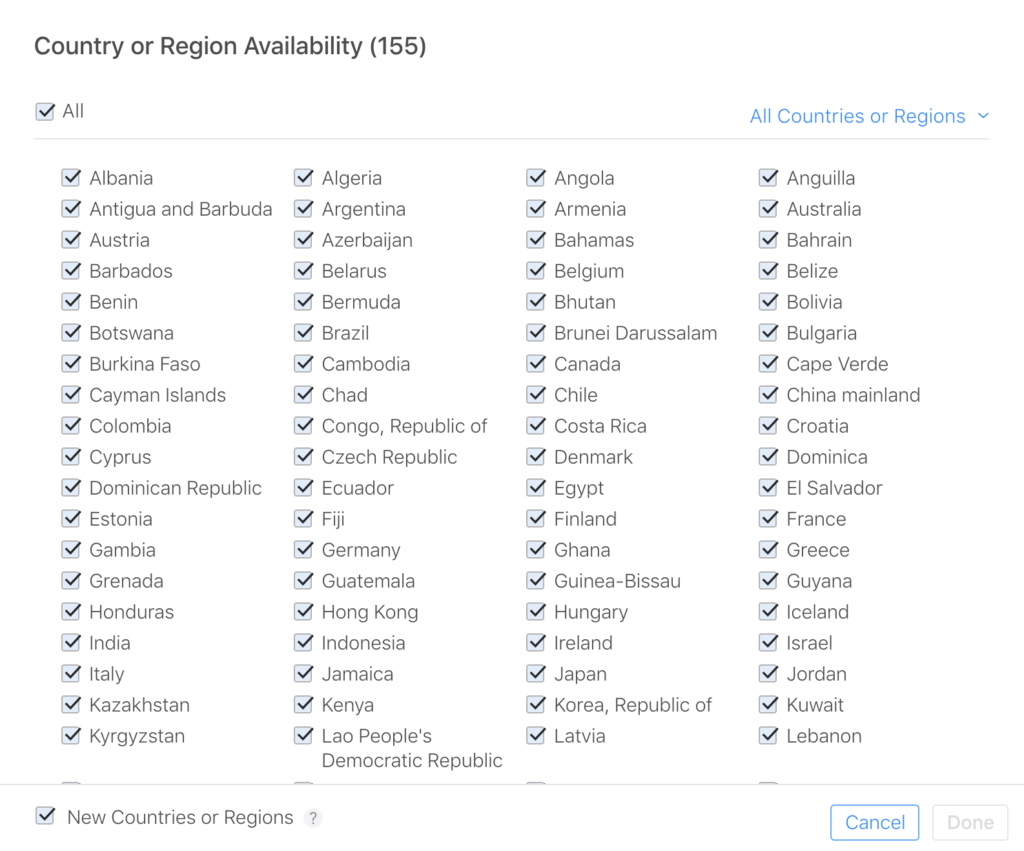
Source: App Store Connect
At the bottom of the Territories pop-up, you’ll see a checkmark for new territories. You can select this if you would like your app to be automatically available in regions that the App Store expands to in the future. After launching your app, you can start managing your app territories and localizations in App Radar’s App Store Optimization tool.
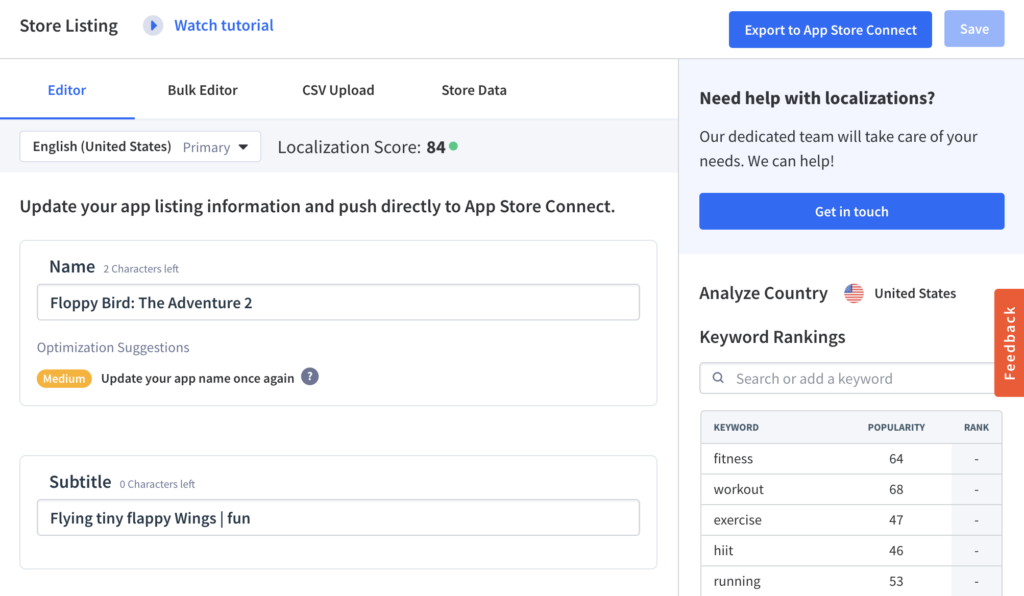
3. Fill Out Your App Metadata and Optimize for Keywords
Before you press submit, you should make sure that your app metadata is filled out and optimized for relevant keywords. This is where App Store Optimization comes into play.
App metadata is the same as app information. It includes fields such as the App Name, App Subtitle, App Description, and Keywords. This is also where you’ll choose your app category and primary language. Apple gives you a list of the required information you need to input.
Now pay attention. There are specific app metadata fields that profoundly influence your app’s success in the App Store. The words that you place in the App Name, App Subtitle and Keywords are crucial to your app’s discovery in the App Store and your overall App Store Optimization strategy.

Source: App Store Connect
How Apple Indexes App Keywords
Apple will crawl these three fields and index the keywords you’ve inputted. As a new app, you’ll get a ranking boost. That means when people search in the app stores using these keywords, your app will be shown in the search results. The higher you can rank for relevant keywords, the more App Store exposure you’ll get.
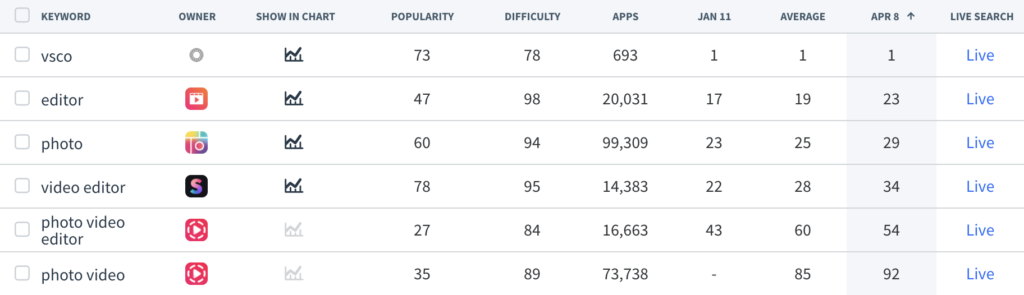
Source: App Radar App Store Optimization Tool
To find lucrative keywords, you should use App Store Optimization tools like App Radar. With a free App Radar account, you’ll be able to track your keyword rankings and see what keywords your competitors are using.
For iOS, specifically, keywords placed in the App Description do not matter. Apple will not crawl your description. However, Apple does require that you have your privacy policy and app subscription details in the description.
Don’t Forget About App Icon, Screenshots, and Preview Videofor the Launch of Your iOS App
While you’re filling out your app information, don’t forget about your app icon, screenshots, and preview video. Visuals have a significant influence on users’ decisions to download apps. That’s because they give users a preview of what your app is about and what it can do.
4. Submit to App Review
You’re almost there! This is the final step, submitting your app for review. Apple cares a lot about the apps that are available in their App Stores. They will not approve apps that are incredibly buggy, do not follow their design and development guidelines, or breach security or privacy policies.
Before pressing submit, be sure to check the Version Release section of the selected app version. You can decide to publish the app immediately after approval or schedule it to publish on a specific date. This is helpful when you’re planning a massive launch campaign and intend to release your app on a particular date or at a specific time.
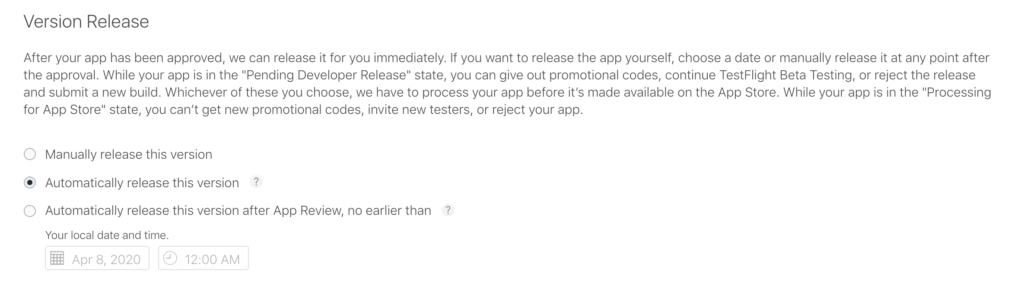
Source: App Store Connect
5. Communicating with Apple After You Submit for App Review
When you submit your app’s status will change to “Waiting For Review”. Once your app is actually in review by the team at Apple, the status will change to a yellow indicator labeled “In Review”.
When there is a problem or if your app gets rejected, you can communicate with Apple in the Resolution Center. After the issue is resolved, you’ll be able to resubmit your app for review.
Your app will go live in the App Store 24 hours after it has been approved.
You’ve Launched! What Now?
You’ve successfully launched your iOS app, congratulations! But the journey to success doesn’t stop here. You can now take your app growth to the next level.
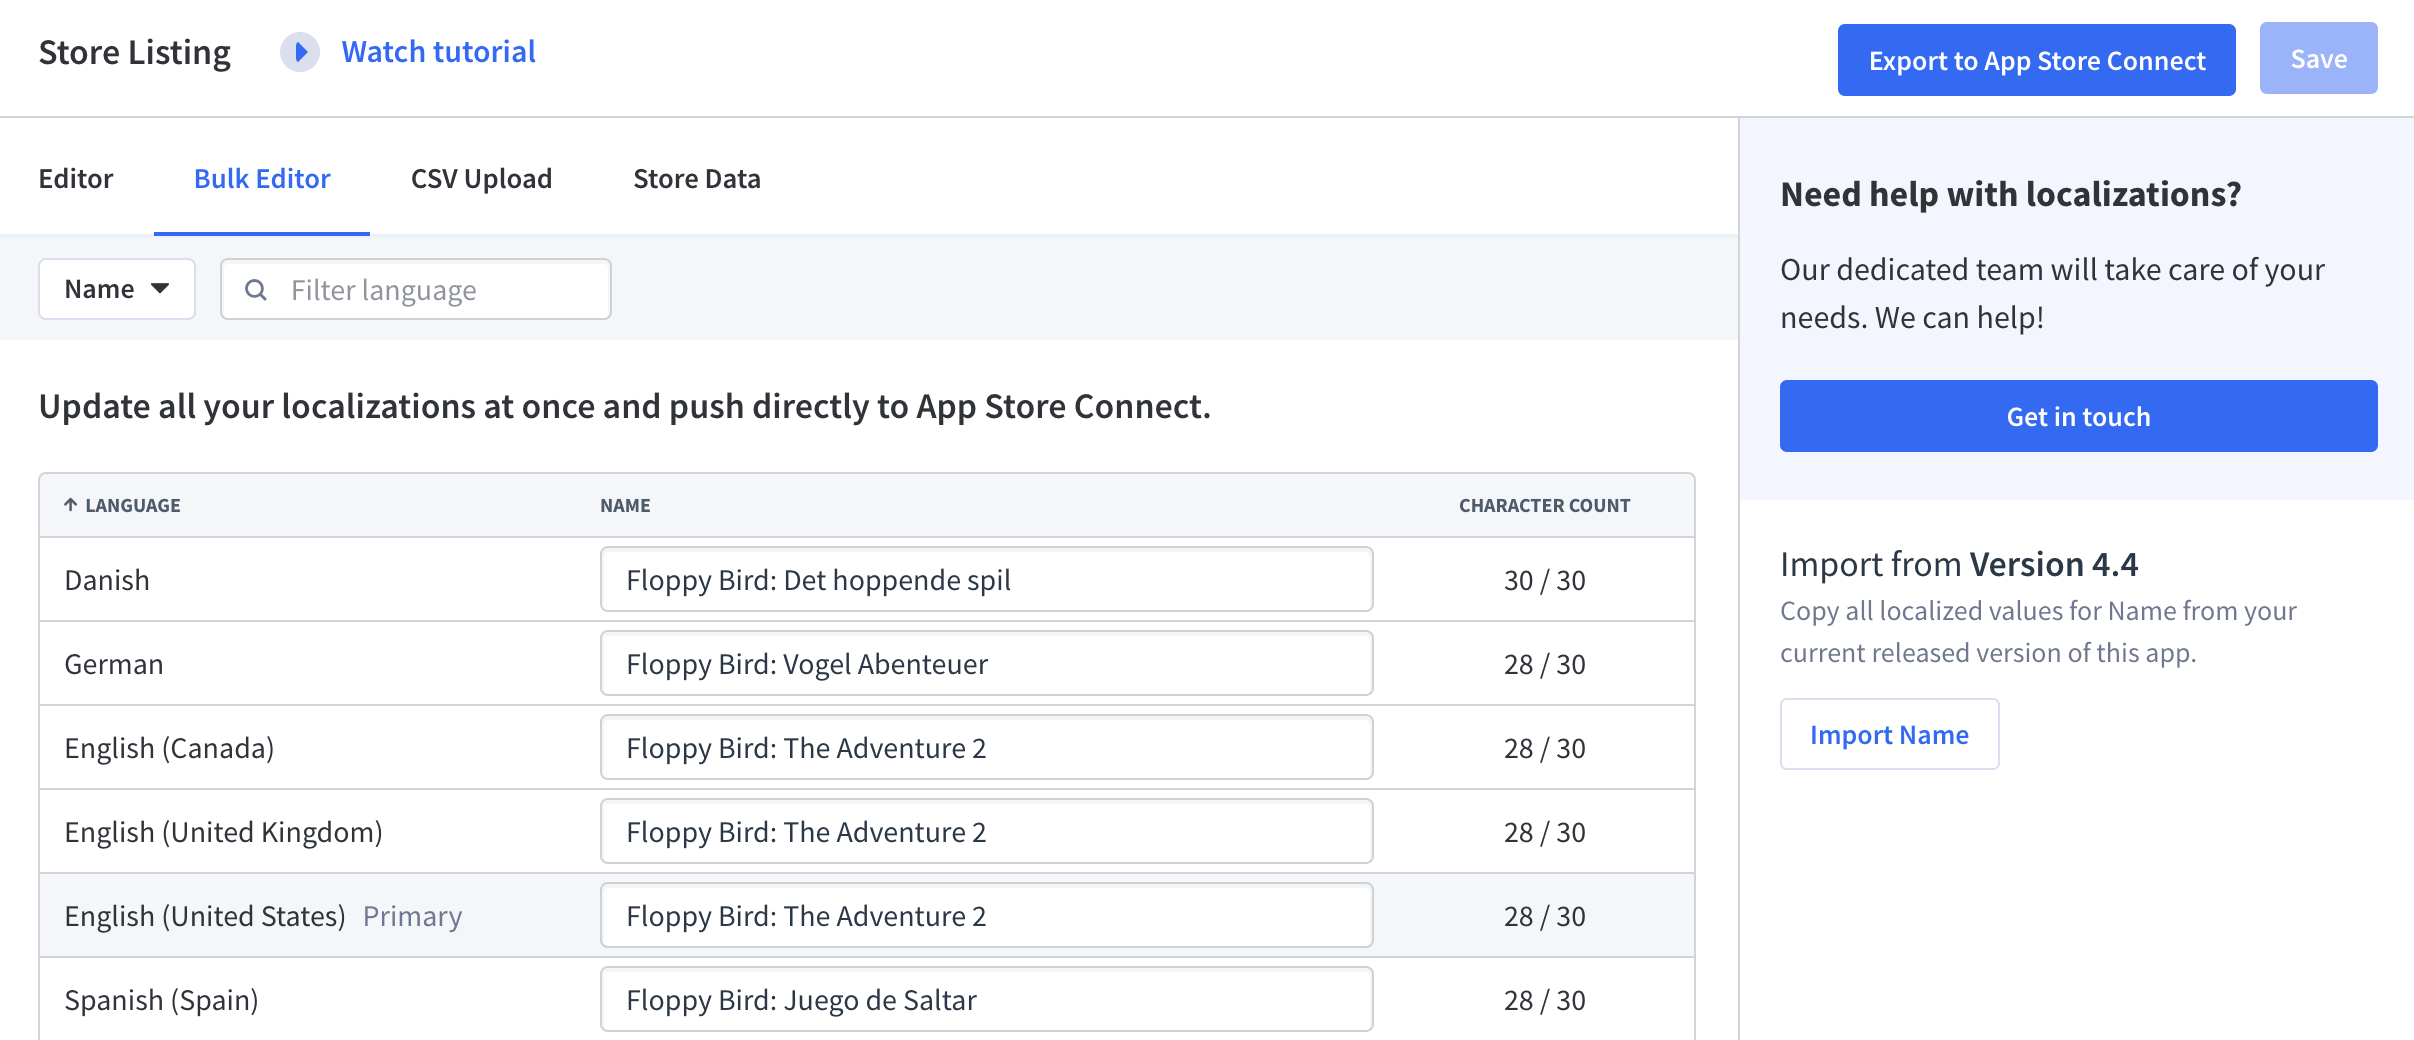
Start by localizing your app for further territories in order to achieve global reach. Then get in the habit of doing App Store Optimization updates, meaning updating your app keywords to rank higher in the App Store. You’ll also start receiving app ratings and reviews. Be sure to respond to every user review to maintain a strong connection with your users.
Lastly, you’ll need to keep an eye on your competitors. How often are they updating their app metadata and screenshots? What kind of keywords are they using?
Source: App Radar App Store Optimization tool
With an App Radar account, you can achieve all of these tasks and grow your app with ease. You’ll be able to track app keywords and app store rank, analyze competitors, watch the top charts, manage your app metadata and screenshots, localize your app metadata, reply to user reviews, and publish all changes directly to App Store Connect. Create a free account today!
Publish Updates to App Store and Google Play
Make changes to your app store listing and localizations. Publish the changes from App Radar directly to App Store Connect and Google Play Console.
Latest Posts