Submitting Android Apps to Google Play Store: The How-To Guide
The Google Play Store is one of the major app stores serving Android users. It’s used by people all over the world and, as a result, is an excellent choice for app distribution when you’re planning to launch a mobile app or game. We’re going to go through exactly what steps you need to take to submit Android apps to the Google Play Store.

Develop Android Apps Using Google Products
Google likes to see apps in its Play Store that were developed using Google products. It’s only fair that they want to push their products. The entire submission and review process will also go more smoothly. Google recommends that you develop your Android app using Android App Bundle. It’s a publishing format that puts together your code and resources. It also defers APK generation and signing to Google Play.
Create a Google Play Console Account to Submit Android Apps to Google Play
The next step after developing your app is to create a Google Play Console or Google Play Developer, account. Google Play Console is where you’ll manage your apps and monitor your app analytics. To set up your account and be able to publish Android apps on Google Play, you’ll have to pay a one-time $25 fee. You also have to be at least 18 years old to create an account.
Test Your Android App
When you sign up for a Google Play Console account, you’ll be able to run internal, closed, and open testing for your app. Testing is essential and should never be overlooked. There could be unanticipated bugs or nonintuitive features that need to be fixed before your official app launch.
Source: TechCrunch
An internal test involves only people within your organization or company. A closed test is when you send your app out to a specific group of people and gather feedback from them. An open test makes your app available to Google Play users and allows them to give you feedback. The best way to move through testing is to start with an internal move into closed and then to open. That way, you catch the biggest problems and have control over your testing groups before you open it up to general users.
In addition, your app and app store listing should be ready before opting for open testing.
Ready To Submit Your Android App to Google Play?
You’ve developed your app, created a Google Play Console account, and ran some testing rounds. It sounds like you’re ready to submit your app to Google Play and go live. Here are the steps to launch your app.
1. Upload Your Android App to Google Play Console
The first step is to import your app into Google Play Console. You can do this by opening Google Play Console and going to “Create Application.” At this point, you’ll need to title your app, but you can still change it before you submit your app for review.
You’ll also need to sign your app. If you use Android App Bundles, you only have to sign your bundle before you upload it into Google Play Console.
2. Set Up Your Google Play App Store Listing
Now you’re ready to set up your app store listing. This step is vital to your app’s success because your app store listing is what people will use to decide if they want to download your app. Your app store listing is also where you’ll be placing keywords for App Store Optimization.
Optimizing Keywords for Android Apps
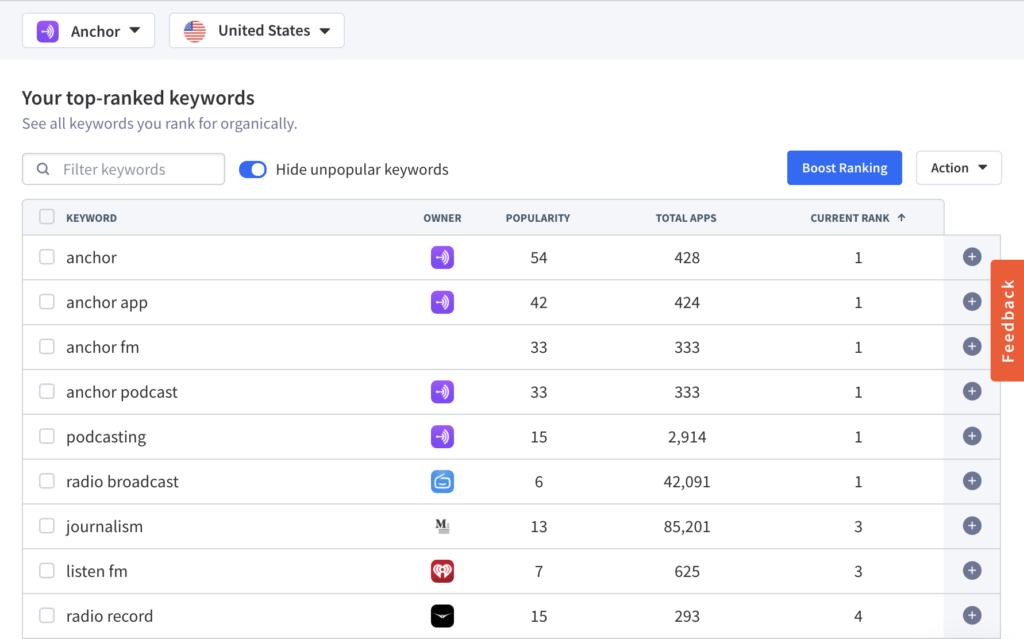
Google will crawl 3 fields for keywords. These are your App Title, Short Description, and Long Description. App Store Optimization tools like App Radar help you research and find the best keywords for your app.
Source: App Radar App Store Optimization Tool
Once you have your set of keywords, you’ll want to repeat them 3-5 times throughout these 3 fields. That’s because Google Play optimization can be seen as Google Play SEO. It will detect what your app is about and when to show your app in the search results based on terms and phrases that are prominent throughout your app store listing.
App Icon, Screenshot, and Demo Video
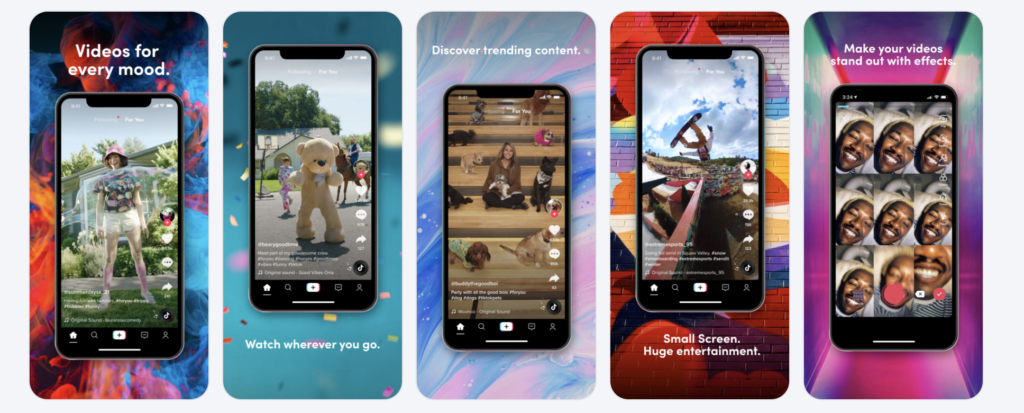
Your app store listing visuals play a huge role in user acquisition. Your app icon, screenshots, and demo video give people a sneak peek of your app. This is what users can try before they buy. So you want to make an excellent first impression.
Source: App Radar
Keep your app icon and screenshots attractive but straightforward. Use colors and designs that will appeal to your target audience. App demo videos for Google Play have to be published on Youtube. They have to be set to the public, and monetization has to be turned off.
3. Add and Manage Languages Your Android App is Available In
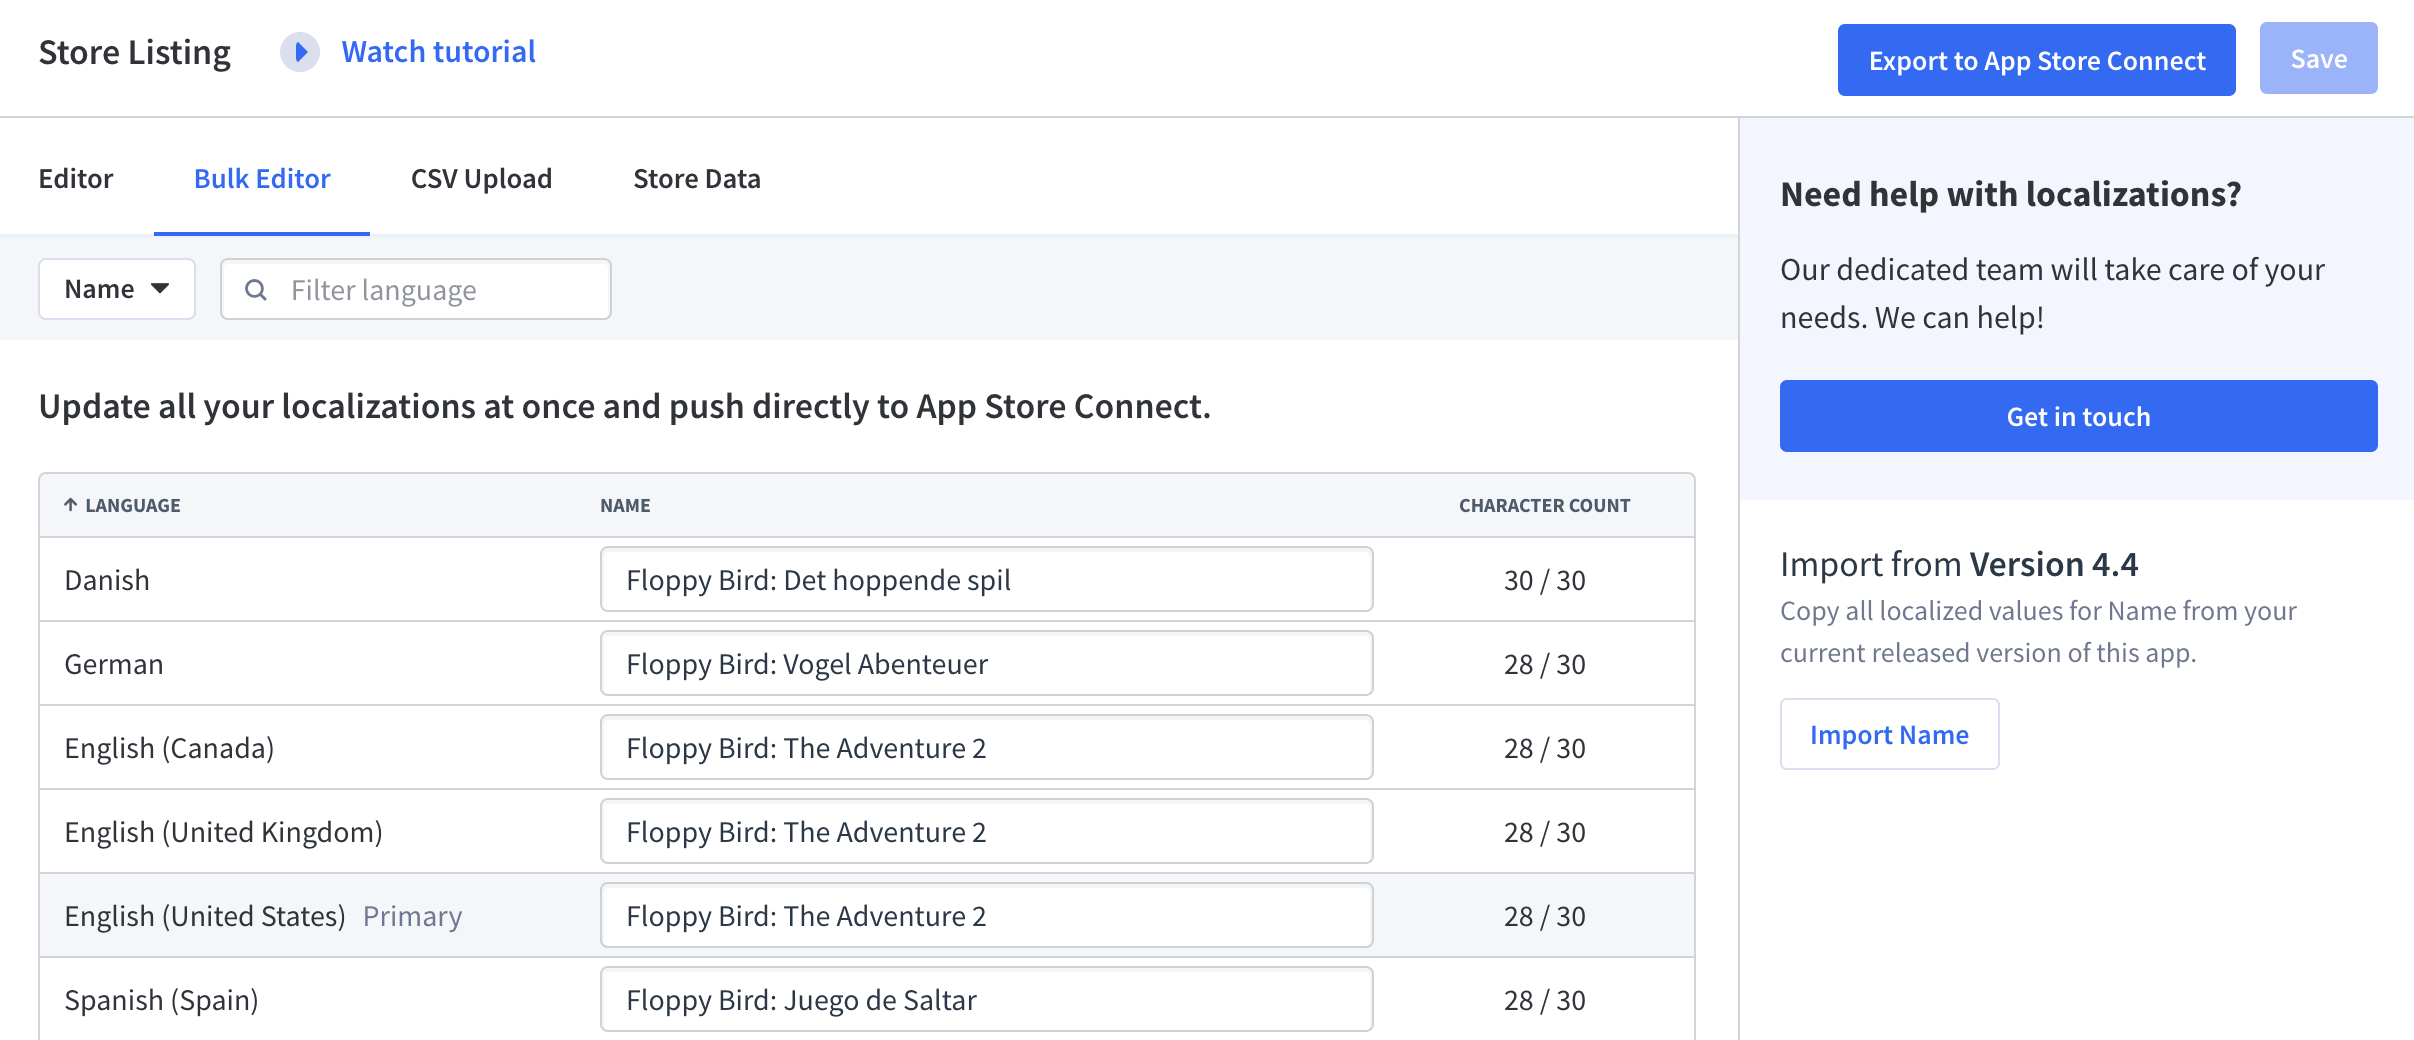
The default language for all Google Play apps is the United States, en-US when they’re first uploaded to the Play Console. You can change your primary app language and also add other ones in your Play Console account.
Be thoughtful about the languages you make your app available in. People are more likely to download apps and use apps that are presented in their native language. So if you make your app available in Spain, your app store listing, including your screenshots, should be in Spanish. Your actual app should also be translated into Spanish. UX/UI also matters here. For example, Arabic is read right to left rather than left to right. Don’t forget to stay aware of these language and cultural preferences when making your app available across different regions.

Source: App Radar
When you are launching a new Android app, consider starting first in the regions that speak your native language. This will make developing, publishing, marketing, and improving your app a lot easier in the beginning.
4. Fill Out the App Rating Questionnaire
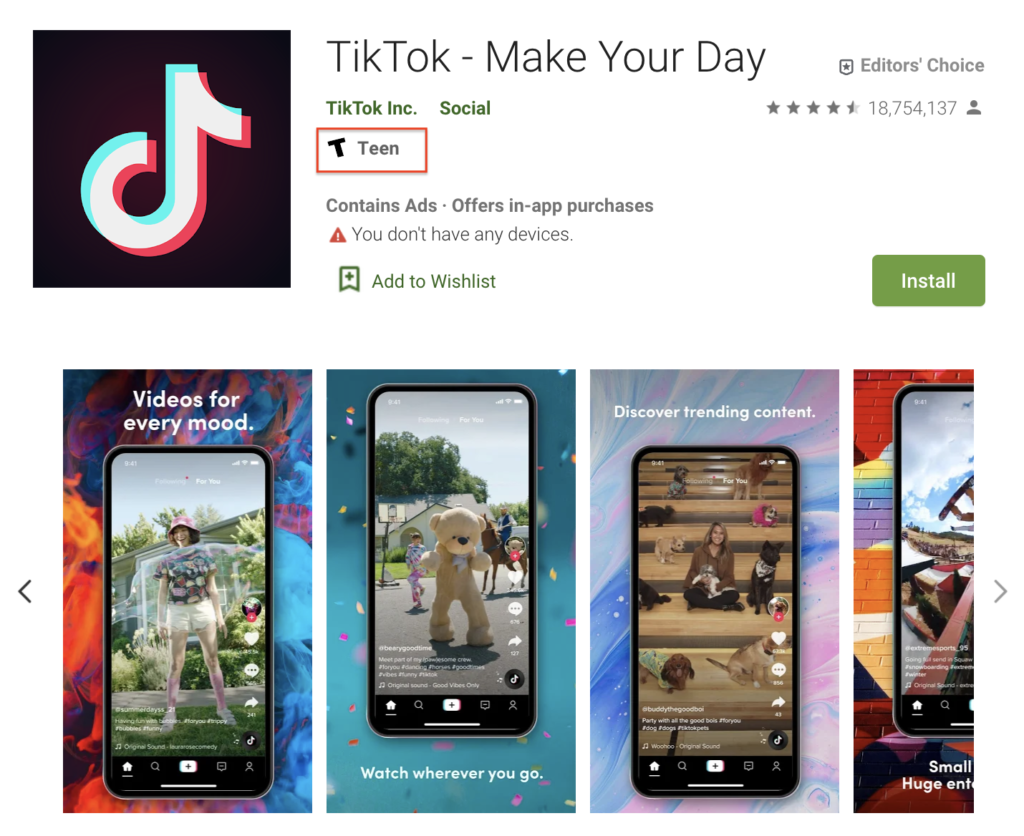
Google rates every app on the Google Play Store. To get a rating for your app, you have to fill out the rating questionnaire. Apps that don’t complete this step get listed as “unrated” and are at risk of removal from the Play Store. The questionnaire has to be done every time you submit a new app or a new update. You can find it under Store presence then Content rating.
Source: Google Play
5. Set a Price for Your Android App Before Launching in Google Play
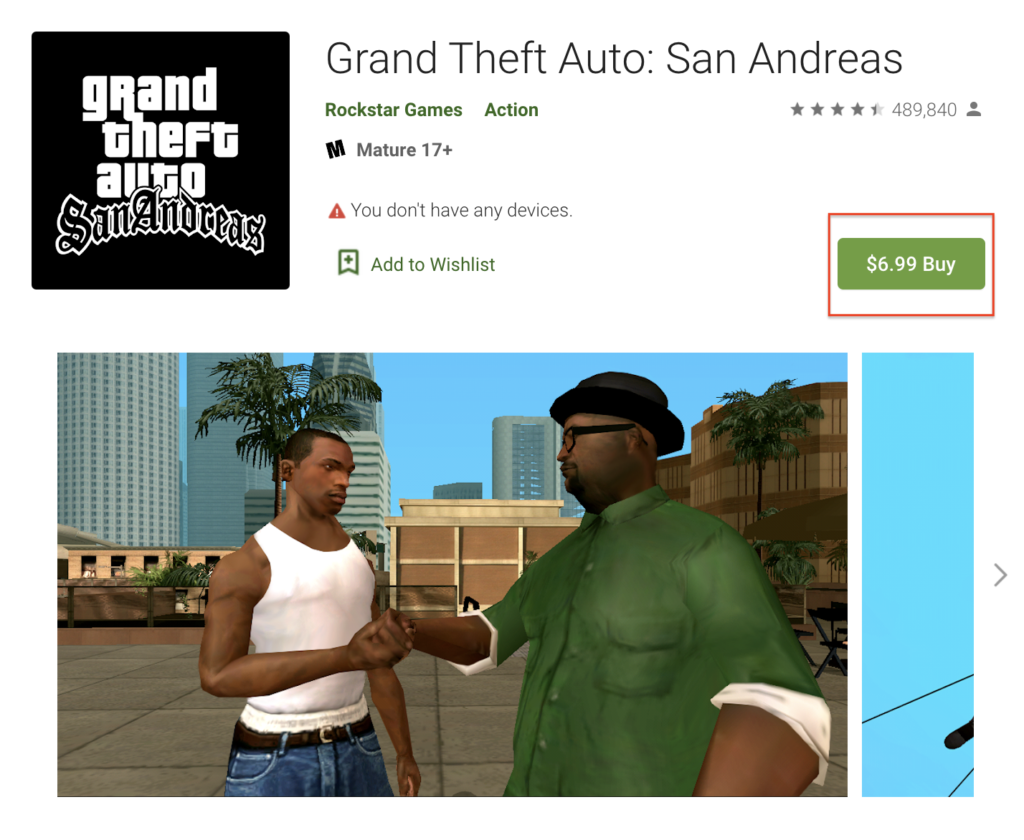
The next step is to set your app’s price. You have to do this even if your app is free. Keep in mind that if you set your app to free in the beginning, you won’t be able to change it later to pay. Google will only let you do that if you upload a new app entirely. So think twice before deciding whether you want to release a paid or a free app.
Source: Google Play
Google will also automatically convert the price that you input to each country’s local currency and add the appropriate tax. The currency is set and cannot be changed. If a country’s currency is not supported, the Play Store will default to USD or EUR.
6. Fill Out Your Contact Details
Lastly, you have to fill out your contact details before launching your Android app in Google Play. Here you’ll place your website and developer information. Google also requires that you provide some kind of contact. That could be a website, an email, or a phone number. Without contact information, Google will reject your submission to be published in the Play Store.
Furthermore, you have to add your privacy policy to your store listing. This is especially important for apps that are asking for access to user permissions and data. It’s also required for any apps in the Family program.
Congratulations! You’ve Submitted Your Android App to Google Play
You’ve completed all the steps, and now your app is under review. Google Play review times have been known to be short or nonexistent. However, Google is changing its policies to get more high-quality apps into the Play Store. You could experience review times up to a week. Plan for delays in the review process, especially if you’re planning a big launch.
What’s Next After You Launch Your Android App in Google Play?
The work is never done! Now that your app is finally live on Google Play, it’s time to focus on growing it. App growth is achieved through methods such as App Store Optimization.
App Store Optimization will drive your organic growth and increase the amount of traffic your app gets in the Play Store. It’s a continuous process, meaning your real growth comes from rolling out App Store Optimization updates at least once a month. By doing so, your app will rank higher in the Play Store.
In addition, you should focus on building a loyal user base. You can create a great community around your mobile app or game by responding to user reviews and asking them for more feedback. Lastly, keep a close eye on your competitors and the strategies that they are using.
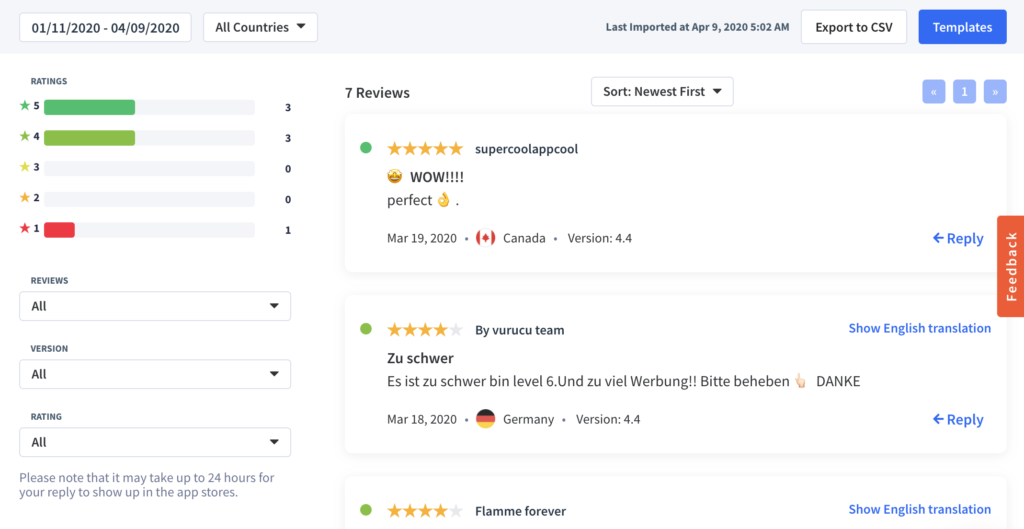
Source: App Radar
With App Radar, you’ll be able to find new keywords for your App Store Optimization strategy, localize your app information for different countries, manage your app screenshots, reply to user reviews, and analyze competitors. Create a free account today!
Publish Updates to App Store and Google Play
Make changes to your app store listing and localizations. Publish the changes from App Radar directly to App Store Connect and Google Play Console.
Latest Posts
